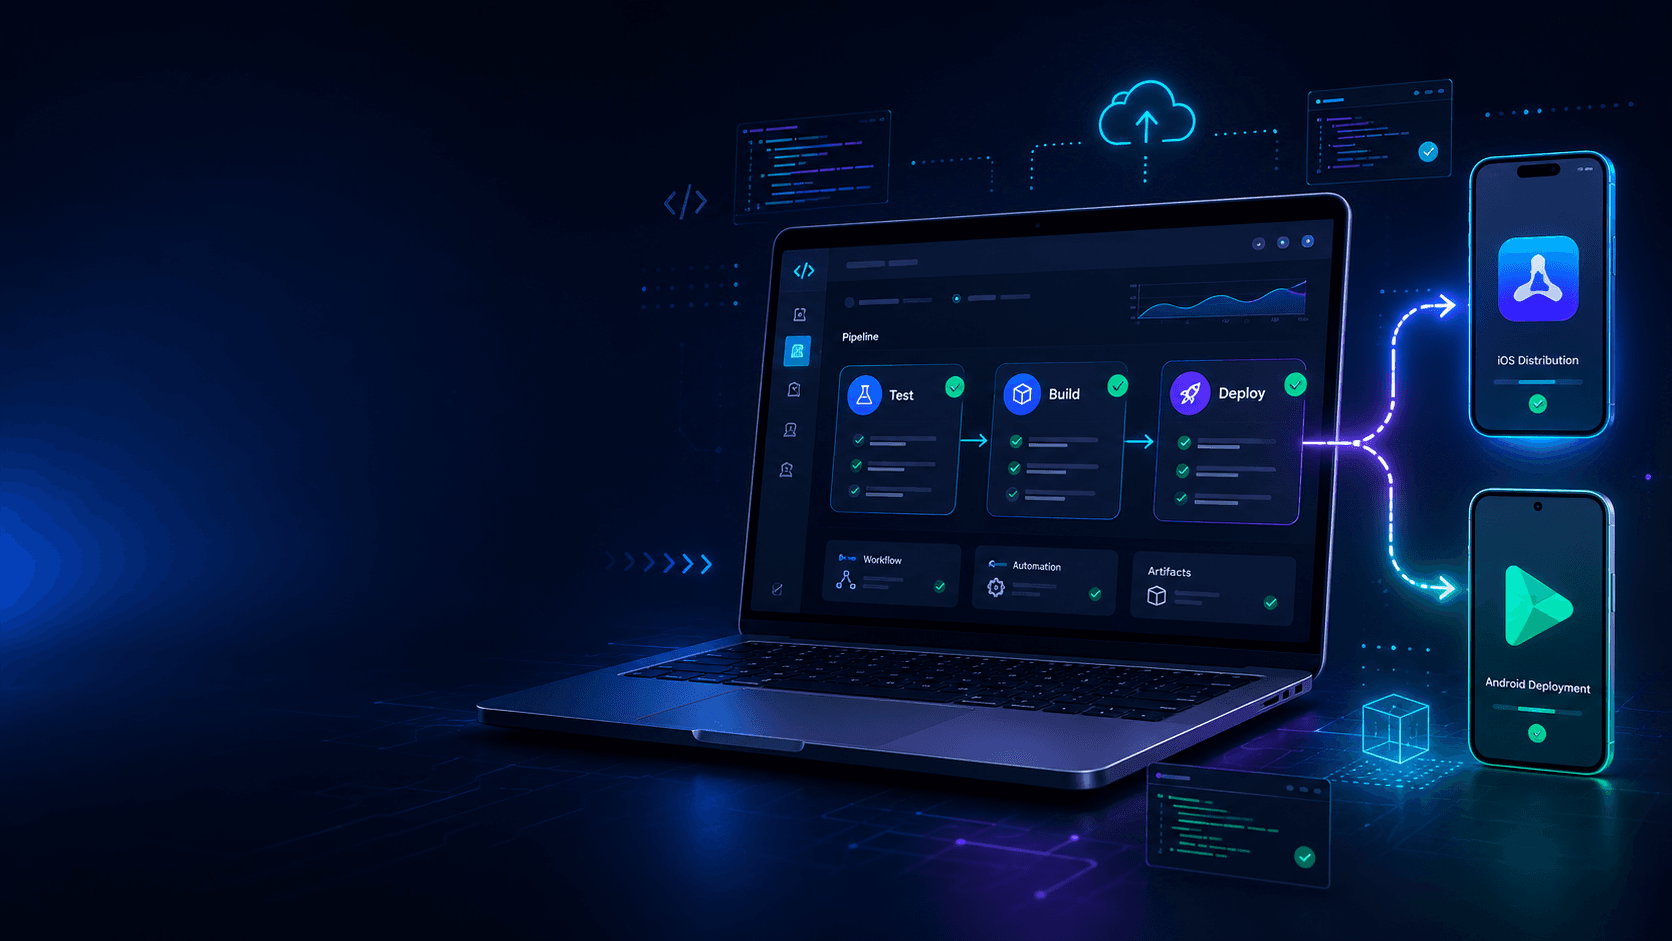
Automatically Publish Flutter Apps: Setting Up GitLab CI/CD for App Store and Play Store
If you develop a Flutter app, you know the classic workflow: test locally, create an Android build, generate an iOS build, check certificates, bump the version, upload the app bundle, open TestFlight, open Google Play Console, add release notes, start internal testing, and later prepare the production release.
This still works for small projects. You click through the store interfaces, copy files back and forth, and hope nothing is forgotten during upload. But as soon as an app grows, multiple developers are involved, or new features need to be released regularly, this manual process quickly becomes a risk.
This is exactly where GitLab CI/CD comes into play.
With a well-configured GitLab CI/CD pipeline, you can automatically test, build, and publish your Flutter app to the App Store and Play Store. For example, a merge into the main branch can automatically create a new Android internal release and a new iOS TestFlight build. A Git tag like v1.2.0 can then trigger a controlled production release.
The result: less manual work, fewer errors, traceable releases, and a development process that still works as your project grows.
In this article, we’ll look at what CI/CD means for Flutter apps, why GitLab is a strong solution, the benefits of automated releases, and typical questions that arise. At the end, I’ll provide you with a step-by-step guide to set up GitLab CI/CD for your Flutter app.
Document Opt-In
German
Set up GitLab CI/CD for Flutter
Get the step-by-step guide to setting up GitLab CI/CD for your own Flutter project.
https://cyberskamp.com/documents/Flutter-Gitlab-CICD-Anleitung.pdfEnglish
Set up GitLab CI/CD for Flutter
Get the step-by-step guide to setting up GitLab CI/CD for your own Flutter project.
https://cyberskamp.com/documents/Flutter-Gitlab-CICD-Anleitung-EN.pdfTags: flutter, app development, gitlab, gitlab ci-cd
What does CI/CD mean for a Flutter app?
CI/CD stands for Continuous Integration and Continuous Delivery or Continuous Deployment.
For a Flutter app, this simply means:
Continuous Integration:
Every code change is automatically checked. This includes, for example, flutter analyze, unit tests, widget tests, or golden tests. The goal is to catch errors early before they reach the main branch.
Continuous Delivery:
After successful tests, a releasable build is automatically generated. For Android, this is usually an .aab app bundle. For iOS, it’s an .ipa file processed via App Store Connect.
Continuous Deployment:
The build is then automatically delivered to a target environment. For mobile apps, this could be Google Play internal testing, closed testing, production, TestFlight, or the App Store.
For web projects, CI/CD is now standard. For mobile apps, it’s often a bit more involved because Android and iOS have their own signing mechanisms, store policies, and build environments. That’s exactly why it’s especially worthwhile.
Why is CI/CD particularly interesting for Flutter?
Flutter has a big advantage: you develop one app with a shared codebase for multiple platforms. Android and iOS are created from the same project. This is productive, but it also brings a challenge, as each release usually affects both stores.
Without CI/CD, this means:
- You build Android locally.
- You build iOS locally.
- You check signing and certificates.
- You upload the app manually.
- You repeat similar steps for every release.
- You must ensure both platforms have the same version.
- You must make sure build numbers are incremented correctly.
- You must be able to prove which code ended up in which store build.
- You may need to adjust configurations.
With CI/CD, this becomes a defined process.
A typical workflow might look like this:
- A developer creates a merge request.
- GitLab automatically starts analysis and tests.
- If everything is successful, the merge into main can happen.
- After the merge, GitLab automatically builds Android and iOS.
- Android is uploaded to the internal test track.
- iOS is uploaded to TestFlight.
- A Git tag is created for the production release.
- GitLab generates the production builds.
- The final release is started manually in a controlled way or delivered automatically.
This ensures your release process no longer depends on local machines, forgotten clicks, or individual people.
What can you achieve with GitLab CI/CD for Flutter apps?
With GitLab CI/CD, you can do much more than just start a build.
You can, for example, specify that every merge request is automatically checked to see if the code compiles, if tests pass, and if there are any analysis errors. This prevents faulty changes from reaching the main branch at all.
You can also automatically generate app bundles for Android and upload them directly to the Google Play Console. This way, your team or client can test new versions directly via the internal test track without you having to manually export and upload a file.
For iOS, you can automatically create an IPA and upload it to TestFlight. Testers regularly receive new versions without you having to open Xcode and archive manually.
This becomes even more important when scaling: you can implement different release stages. For example:
Merge Request: Only analysis and tests
Merge into main: Automatic beta release
Git tag: Manually approved production release
Hotfix branch: Separate release for critical bugs
Protected tags: Only authorized people can trigger production releases
This turns an improvised release process into a professional software lifecycle.
Why GitLab CI/CD instead of local builds?
Local builds have a crucial disadvantage: they depend on your machine.
You might have a different Flutter version installed locally. Maybe your Java version is different. Maybe your iOS certificates are correct locally, but another developer is missing them. Maybe the build only works on your MacBook, but no one knows exactly why.
A GitLab CI/CD pipeline provides more reliability here.
The pipeline documents the build process in a file: .gitlab-ci.yml. It specifies exactly which commands are executed, which stages exist, and under what conditions jobs start.
This makes the release process reproducible.
If a build fails, you can see exactly where it happened in the pipeline log. If a release was successful, you can later trace which commit, which pipeline, and which build number were involved.
This is especially valuable as a project grows or multiple people work on it.
Typical structure of a GitLab CI/CD pipeline for Flutter apps
A sensible pipeline for Flutter usually consists of three stages:
1. Test
In this stage, you check whether the code is basically clean. This includes, for example:
flutter pub get
flutter analyze
flutter test
This stage should run on merge requests. The goal is to catch errors early before they reach the main branch.
2. Beta Release
This stage runs after a merge into the main branch. Here, real builds are generated and delivered to test environments.
For Android, this can be an upload to the Google Play internal track.
For iOS, this can be an upload to TestFlight.
This way, your team automatically gets a testable app version after every successful merge.
3. Production Release
This stage should be more consciously controlled. Mobile apps have store reviews, user ratings, and real impact on existing installations. Therefore, it makes sense not to trigger production releases automatically on every merge.
A good approach is a Git tag:
v1.0.0
v1.0.1
v1.1.0
As soon as such a tag is pushed, production jobs appear in GitLab. These can be started manually. This way, you combine automation with control.
Why do you usually need a macOS runner for iOS?
Android builds can run in a Linux Docker container. iOS builds cannot.
For iOS, you need Xcode, and Xcode only runs on macOS. Therefore, you need either a GitLab hosted macOS runner or your own Mac as a GitLab runner.
Many teams use a Mac mini, a MacBook, or a dedicated build Mac for this. This runner is registered with GitLab and gets a tag like macos. In the .gitlab-ci.yml, you then specify that iOS jobs may only run on runners with this tag.
This is important because otherwise an iOS job would land on a Linux runner and wouldn’t be able to build there.
A typical iOS job therefore runs on a macOS runner, while Android and tests can run on normal Docker runners.
What role does fastlane play?
GitLab CI/CD starts your jobs, but GitLab itself doesn’t automatically know all the details of App Store Connect, TestFlight, Google Play, iOS signing, and store uploads. This is where fastlane is extremely helpful.
fastlane is an automation tool for mobile app releases. It can, among other things:
- Build Android app bundles
- Upload AAB files to Google Play
- Manage iOS certificates and provisioning profiles
- Upload IPA files to TestFlight
- Prepare App Store releases
- Set build numbers
- Define release processes as reusable lanes
In practice, GitLab CI/CD is the pipeline platform and fastlane is the tool that executes the mobile release steps.
The interaction looks like this:
- GitLab starts the job.
- The job installs dependencies.
- Fastlane runs the appropriate lane.
- Flutter generates the build.
- Fastlane uploads the build to the store.
This keeps your .gitlab-ci.yml clear, and the more complex store logic is in the Fastfile.
Can you publish a Flutter app directly with GitLab, without fastlane?
Partially yes, but in practice, fastlane is usually the better solution.
You could theoretically write your own shell scripts, generate Android builds, and call APIs directly. But for iOS, it quickly gets complicated: App Store Connect API, code signing, provisioning profiles, certificates, TestFlight uploads, and export options all need to work together smoothly.
Fastlane already solves many of these problems. It’s made specifically for mobile app releases and is used in many professional projects.
For Flutter projects, a realistic approach is therefore:
- GitLab CI/CD for pipeline, runners, variables, and triggers
- Fastlane for Android/iOS build and store automation
- Flutter CLI for the actual builds
What happens during an automatic Android release?
For Android, Flutter usually generates an app bundle:
flutter build appbundle --releaseThis .aab is then uploaded to the Google Play Console via fastlane.
You need:
- An app in the Google Play Console
- The correct application ID
- An upload keystore
- A service account for the Google Play API
- The appropriate permissions in the Play Console
- GitLab CI/CD variables for sensitive data
The upload keystore should not simply be placed in the repository. Instead, it is typically stored as a base64-encoded GitLab variable and recreated as a file during the pipeline.
Passwords like ANDROID_KEYSTORE_PASSWORD, ANDROID_KEY_PASSWORD, and ANDROID_KEY_ALIAS also belong in GitLab CI/CD variables, not in the code.
A clean Android CI/CD process thus generates the keystore at runtime, builds the app bundle, and then uploads it to the desired track.
What happens during an automatic iOS release?
iOS is more complex because Apple uses certificates and provisioning profiles.
For TestFlight and App Store, you need App Store distribution signing. This means:
- Apple distribution certificate
- App Store provisioning profile
- App Store Connect API key
- Correct bundle ID
- Correct team ID
- macOS runner with Xcode
- Flutter and CocoaPods
- Fastlane match or another clean signing process
In many projects, fastlane match is used. Certificates and provisioning profiles are stored encrypted in a separate private Git repository. The CI loads these signing files in readonly mode and can thus reproducibly generate iOS builds.
The advantage: not every developer has to manage certificates manually. Signing is managed centrally.
Especially for iOS, it’s important not to create new certificates uncontrollably. Otherwise, errors quickly occur, such as:
- Provisioning profile does not contain the used signing certificate.
- Private key is missing.
- Certificate is not available locally.
- Xcode uses development signing instead of App Store signing.
- Match repo and Apple Developer Portal are not synchronized.
A clean match workflow prevents exactly this chaos.
Document Opt-In
German
Set up GitLab CI/CD for your Flutter project
Get the free step-by-step guide to setting up GitLab CI/CD for your Flutter project.
https://cyberskamp.com/documents/Flutter-Gitlab-CICD-Anleitung.pdfEnglish
Set up GitLab CI/CD for your Flutter project
Get the free step-by-step guide to setting up GitLab CI/CD for your Flutter project.
https://cyberskamp.com/documents/Flutter-Gitlab-CICD-Anleitung-EN.pdfTags: flutter, app development, gitlab, gitlab ci-cd
Why shouldn’t you put secrets in the repository?
A CI/CD pipeline needs a lot of sensitive data:
- Keystore files
- Store passwords
- API keys
- Service account JSONs
- App Store Connect private keys
- Match passwords
- Signing repositories
- Environment variables like .env
This data does not belong in Git.
Instead, use GitLab CI/CD variables. Values can be stored there and marked as protected, masked, or hidden as needed.
This has several advantages:
- Secrets don’t end up in the repository.
- They are not accidentally published.
- They can be protected depending on branch or tag.
- They can be exchanged without changing code.
- The pipeline remains flexible.
This is essential for scaling projects. If you later manage multiple apps, teams, or client projects, you need a clear separation between code and secret configurations.
How does versioning work in a Flutter CI/CD pipeline?
Mobile apps need two types of version numbers.
The visible version, for example:
1.4.2And the internal build number, for example:
1040207In Flutter, you can set these values via the build commands: --build-name for the visible version and --build-number for the internal build number.
For Android, this becomes versionName and versionCode.
For iOS, this becomes CFBundleShortVersionString and CFBundleVersion.
In a CI/CD pipeline, you can generate these values automatically. For example, from the pipeline number, a Git tag, or a manually set offset.
A simple approach is:
- Build number = GitLab pipeline ID plus offset
- Version name = base version plus patch counter
This way, a pipeline can automatically generate:
0.0.61+61
0.0.62+62
0.0.63+63
This saves manual work and prevents the App Store or Play Store from rejecting a build because the build number has already been used.
Why shouldn’t production always be published automatically?
Automation doesn’t mean every change should go live immediately. Especially for mobile apps, a controlled production release is often more sensible. A merge into main can automatically trigger TestFlight and internal testing. The production release, however, should often be consciously approved. Git tags are suitable for this.
Example:
v1.0.0
v1.0.1
v1.1.0
A pipeline can be configured so that production jobs only appear for tags. Additionally, these jobs can be started manually.
This has several advantages:
- Not every merge goes live automatically.
- Production releases are conscious and traceable.
- You can wait for internal tests before the final release.
- You can work with protected tags.
- You can consciously prepare release notes and store reviews.
For professional projects, this is usually the best middle ground: maximum automation for tests and beta builds, but conscious control for production.
What are the advantages of GitLab CI/CD for Flutter projects?
The biggest advantage is not just saving time. It’s mainly about process quality.
1. Fewer manual errors
Manual releases are error-prone. The wrong file is quickly uploaded, a build number forgotten, or a step skipped. A pipeline always executes the same steps in the same way.
2. Faster test cycles
If a TestFlight or internal testing build is automatically created after every merge, testers and clients can give feedback much faster.
3. Better traceability
Every build is linked to a commit, a pipeline, and a timestamp. If an error occurs later, you can trace exactly which code was delivered.
4. Better team collaboration
With multiple developers, it’s important that releases don’t only work on one person’s laptop. CI/CD centralizes this process.
5. Scalability
As your project grows, you need clear processes. CI/CD lays the foundation for larger teams, multiple environments, regular releases, and professional quality assurance.
6. Better quality before release
Automated tests and analysis steps prevent obvious errors from entering the release process at all.
7. Automatable release strategies
You can define different stages: development, beta, internal testing, closed testing, production. Each stage can have its own rules and approvals.
How does CI/CD help scale a Flutter project?
A small app project can start with manual releases. But as the project grows, new requirements arise:
- More developers work on the code simultaneously.
- Features are developed in parallel.
- Clients or testers expect regular builds.
- Bugs need to be fixed quickly.
- App Store and Play Store should be maintained cleanly.
- Builds must be reproducible.
- Security data must be protected.
- Release processes must not depend on individuals.
CI/CD solves exactly these problems. A scaling project needs repeatable processes. If every release is done differently, chaos ensues. If every release goes through the same pipeline process, structure is created.
CI/CD also enables more professional work with branches and reviews. A feature is not simply released directly, but goes through analysis, tests, review, beta build, and only then production.
Typical questions about GitLab CI/CD with Flutter
Can GitLab CI/CD automatically upload my Flutter app to the App Store?
Yes. You need a macOS runner, Xcode, an App Store Connect API key, and properly configured iOS signing. In practice, fastlane is often used to generate the IPA file and upload it to TestFlight or App Store Connect.
Can GitLab CI/CD automatically upload my Flutter app to the Play Store?
Yes. Android builds can be generated in a Docker runner. With a Google Play service account and fastlane, the generated app bundle can be automatically uploaded to a track like internal testing, closed testing, or production.
Do I need fastlane for Flutter CI/CD?
Not necessarily, but in practice, fastlane is very helpful. It greatly simplifies store uploads, iOS signing, TestFlight uploads, and Android releases. Without fastlane, you would have to script many store API steps yourself.
Why do I need a macOS runner for iOS?
iOS builds require Xcode. Xcode only runs on macOS. Therefore, an iOS build cannot simply be created in a normal Linux Docker container.
Can Android be built on a normal GitLab runner?
Yes. Android builds can usually be built well in Linux Docker containers. Therefore, Android jobs can often be run on GitLab hosted runners or your own Linux runners.
Should I publish directly to production on every merge?
Usually not. Better: every merge into main automatically creates beta builds for TestFlight and internal testing. Production releases are controlled via Git tags and manual approvals.
How do I automatically increment the build number?
You can derive the build number from a GitLab pipeline variable such as the pipeline ID. Additionally, an offset can be set if you already have existing build numbers in the store.
How do I automatically increment the visible version number?
In addition to --build-number, you can also pass --build-name to the Flutter build. This allows you to automatically generate a version like 0.0.61 or 1.2.3 from pipeline data.
What is the difference between build-name and build-number?
build-name is the visible app version, e.g., 1.0.3. build-number is the internal build number, which must increase with every upload.
What is fastlane match?
fastlane match centrally manages iOS certificates and provisioning profiles in an encrypted repository. This allows the CI to reproducibly sign iOS builds without certificates having to be managed manually on every computer.
Why should the match repository be separate?
The match repository contains sensitive signing files. It should therefore be separate from the app code, private, and only accessible to authorized people or runners.
What happens if iOS signing is set up incorrectly?
Errors can occur such as missing private keys, incorrect provisioning profiles, development signing instead of App Store signing, or mismatched certificates. Therefore, iOS signing should be managed cleanly and centrally.
Where do you store keystores, API keys, and passwords?
In GitLab CI/CD variables. Sensitive data should never be committed directly to the repository.
What is the advantage of protected branches and protected tags?
This allows you to control who can trigger production releases and which variables are only available in secure contexts. This protects sensitive secrets and prevents unwanted releases.
What is the difference between TestFlight and App Store release?
TestFlight is intended for beta testing. Internal or external testers can test new iOS builds there. An App Store release goes to real users and is subject to the final review and release process.
What is the difference between internal testing and production in Google Play?
Internal testing is a test track for a limited group of testers. Production is the public release for real users in the Play Store.
Common mistakes in Flutter CI/CD pipelines
When setting up a Flutter CI/CD pipeline, similar problems often occur.
Flutter version not fixed
If the pipeline always uses stable, a Flutter update can suddenly break builds. For professional projects, it’s often sensible to use a specific Flutter version.
Missing .env file
If .env is listed as an asset but not in the repository, the build will fail in the pipeline. The solution is to store the content as a GitLab variable and generate the file during the pipeline.
Incorrect CocoaPods version
iOS builds can fail if different CocoaPods versions are used locally or in the CI. Therefore, it’s sensible to manage CocoaPods via Bundler in the project.
iOS signing chaos
Too many certificates, incorrect provisioning profiles, or an unsynchronized match repository quickly lead to hard-to-understand errors. Here, a clean reset and a consistent match process help.
Android JVM target mismatch
Some Flutter plugins use different Java or Kotlin target versions. Then the Android release build can fail with a JVM target compatibility error. Gradle, Kotlin, and plugin versions must work together cleanly here.
Build number already used
App Store and Play Store do not accept build numbers that have already been used. Therefore, the pipeline should automatically increment the build number.
Secrets not available
If GitLab variables are marked as protected but the branch or tag is not protected, the pipeline cannot use the secrets. This often leads to errors that don’t immediately look like permission problems.
Who benefits from GitLab CI/CD for Flutter apps?
GitLab CI/CD is especially worthwhile for:
- Startups with a growing product
- Freelancers with multiple client projects
- Agencies that regularly publish apps
- Teams with multiple developers
- Apps with frequent updates
- Projects with testers or QA processes
- Apps with Android and iOS releases
- Products that should scale long-term
If you only update a small app once a year, a manual release may be enough. But as soon as you develop, test, and publish regularly, CI/CD not only saves time but also increases the quality of your entire process.
Why CI/CD is also a strong signal for client projects
For clients, CI/CD is often not directly visible. But they feel the difference.
- A client notices if new test versions are available quickly.
- A client notices if releases are chaotic or controlled.
- A client notices if errors can be analyzed traceably.
- A client notices if a developer works professionally or improvises every time.
A GitLab CI/CD pipeline shows: this project is not just coded, but set up professionally. Especially for agencies and freelancers, this is a strong quality feature. It shows that not only features are built, but also the release process, scalability, and long-term maintainability are considered.
What should you prepare before setting up?
Before you set up a Flutter CI/CD pipeline, you should clarify a few things:
- What is the Android application ID?
- What is the iOS bundle ID?
- Does the app already exist in Google Play Console and App Store Connect?
- Is there an Android upload keystore?
- Is there a Google Play service account?
- Is there an App Store Connect API key?
- How is iOS signing managed?
- Is there a macOS runner?
- Which Flutter version should be used?
- How should build and version numbers be generated?
- Which branches and tags trigger releases?
- Which secrets need to be protected?
This preparation saves a lot of time later.
CI/CD is not an end in itself
Setting up a pipeline takes time at first. Especially for iOS, the setup can be frustrating. Certificates, provisioning profiles, keychains, and runners are not always intuitive. But the effort is worth it. After that, the release process is no longer a manual checklist every time. It is defined, versioned, and automated. That’s the crucial difference: you’re not just building an app. You’re building a system that allows this app to be reliably developed and published further.
Conclusion: GitLab CI/CD makes Flutter releases more professional
GitLab CI/CD can massively improve your Flutter release process. Instead of building Android and iOS manually, uploading to stores by hand, and repeating the same steps for every release, you define a clear automated process, which brings you:
- faster test versions
- fewer manual errors
- better traceability
- automatic build and version numbers
- controlled production releases
- clean separation of code and secrets
- better scalability
- more professional team collaboration
Especially if an app is to grow in the long term, CI/CD is not a luxury but an important foundation. Developing a Flutter app is the first step. Testing, building, and publishing it reliably is the next. With GitLab CI/CD, you can take exactly this next step professionally.
PDF Download: Step-by-Step Guide
If you want to set up GitLab CI/CD for your own Flutter app, you need not only a basic understanding but also a concrete technical guide.
That’s why you’ll also find a detailed step-by-step guide as a PDF here. It explains in practice which settings you need to make in GitLab, fastlane, Google Play Console, App Store Connect, and your Flutter project to set up automatic releases for Android and iOS.
Document Opt-In
German
Set up GitLab CI/CD for your Flutter project
Get the free step-by-step guide to setting up GitLab CI/CD for your Flutter project.
https://cyberskamp.com/documents/Flutter-Gitlab-CICD-Anleitung.pdfEnglish
Set up GitLab CI/CD for your Flutter project
Get the free step-by-step guide to setting up GitLab CI/CD for your Flutter project.
https://cyberskamp.com/documents/Flutter-Gitlab-CICD-Anleitung-EN.pdfTags: flutter, app development, gitlab, gitlab ci-cd

Comments
Please sign in to leave a comment.